1. Understanding the Core Principle of “Seeing the Light but Not the Fixture”
Before starting the installation, understanding the optical principles behind it is key to success.
-
What is “Seeing the Light but Not the Fixture”?
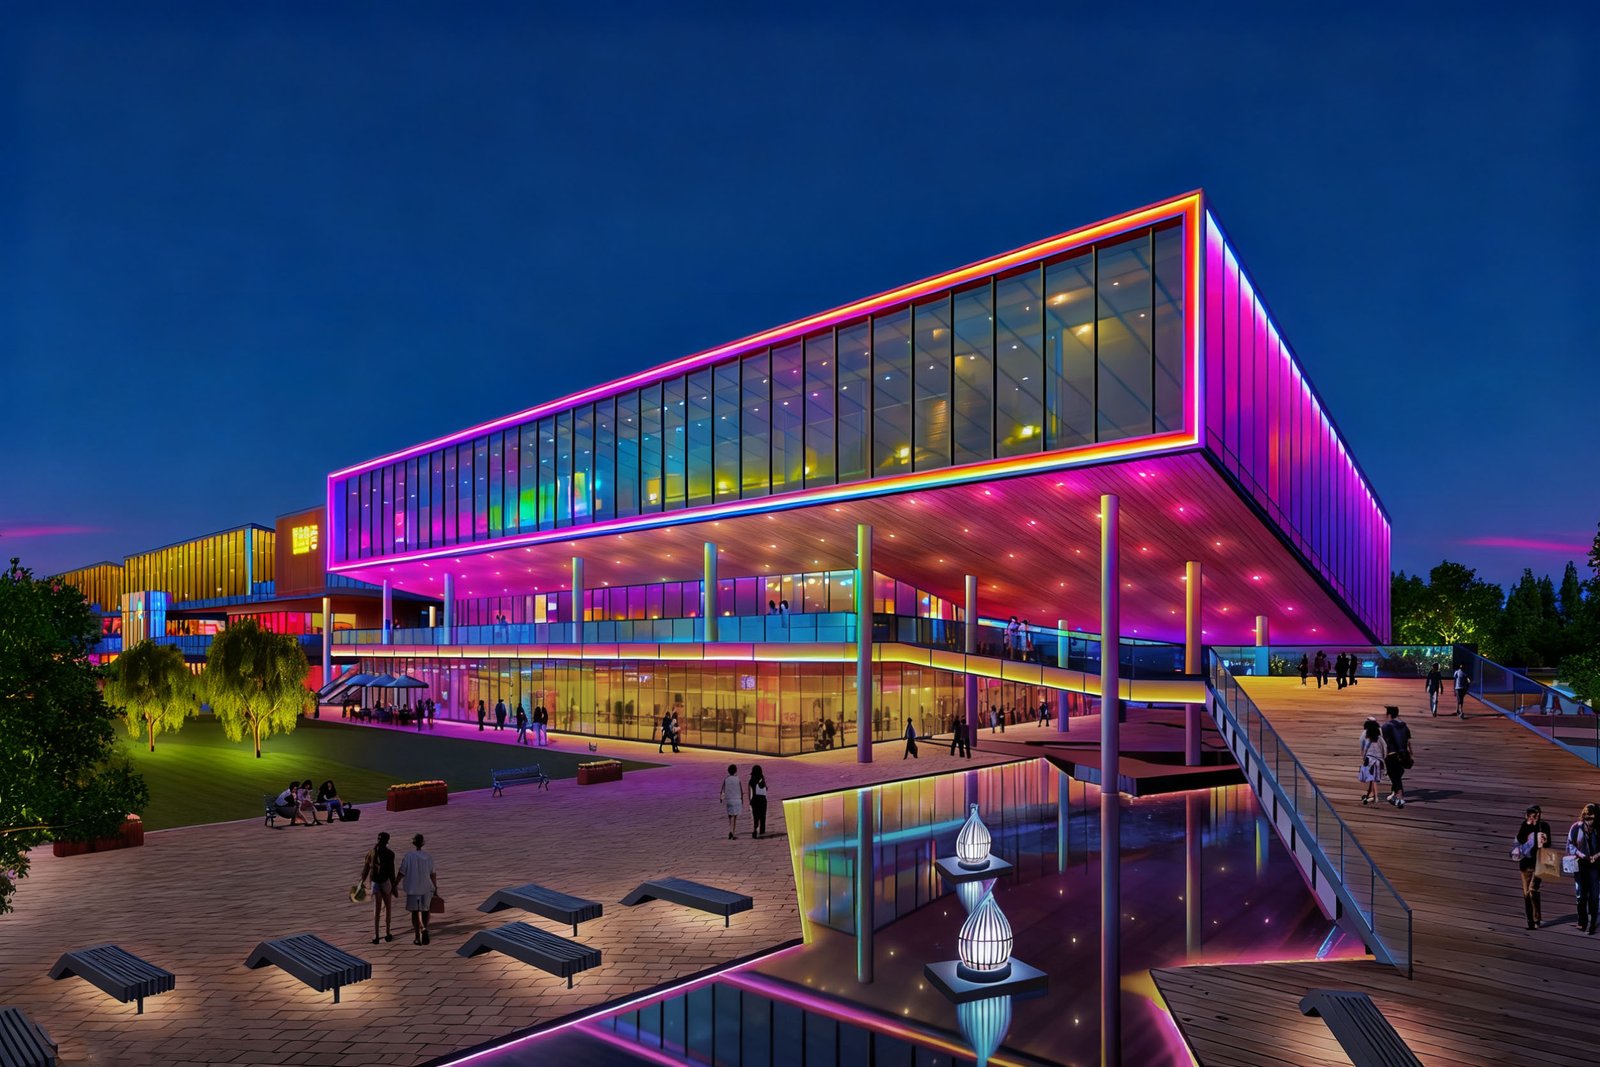
Simply put, it means that from normal viewing angles, the observer cannot see the light source or the body of the fixture itself, only the beautiful light beam or wash perfectly projected and spread across the wall surface. -
Three Key Elements to Achieve This Effect:
-
Hide the Fixture Body: Cleverly install the fixtures in blind spots, such as recesses, baffles, or underground.
-
Control the Beam Angle: Use the specific beam angle of the wall wash light (e.g., narrow, wide) to precisely control the direction and spread of the light.
-
Avoid Direct Glare: Ensure that the human eye does not directly see the high-brightness LED chips, which requires proper installation position and angle.
-
2. Preparation Before Installation: Planning is the Foundation of Success
 “Success depends upon previous preparation.” Thorough preparation can avoid many troubles during the installation process.
-
1. Choosing the Right Wall Wash Light
-
Fixture Type: Select according to the installation environment: recessed ground lights, embedded linear lights, track-mounted wall washers, etc. For example, choose in-ground lights for floor installation, linear lights for installation at the top of a wall.
-
Beam Angle: Narrow beam angles (e.g., 15°-25°) are suitable for creating dramatic accent lighting; wide beam angles (e.g., 45°-60°) produce a more even and soft washing effect.
-
Power and Color Temperature: Choose power based on the wall size and desired brightness. Color temperature affects the ambiance: 2700K-3000K is warm white, cozy and comfortable; 4000K is neutral white, crisp and modern.
-
-
2. Designing a Precise Lighting Layout Plan
-
Calculate Installation Distance: The distance from the light to the wall is crucial. Too close, and you get intense “hot spots” and uneven light; too far, and the light disperses, lacking intensity. A distance of 10-30 cm is often recommended, but the optimal position should be determined through testing.
-
Determine Fixture Spacing: To ensure light beams connect seamlessly and avoid dark areas, calculate the spacing between fixtures. Typically, the spacing is 1.5 to 2 times the distance from the wall.
-
-
3. Preparing Necessary Tools and Materials
-
Tool List: Electric drill, screwdrivers, level, tape measure, electrical tape, wire cutters, multimeter.
-
Material List: Wall wash lights, low-voltage power supply (ensure matched power rating with 20% headroom), signal cables (for dimming/color changing), waterproof junction boxes, screws, wall plugs, etc.
-
3. Key Installation Steps: Creating the Invisible Light Magic
This is the core part of putting theory into practice; each step directly affects the final outcome.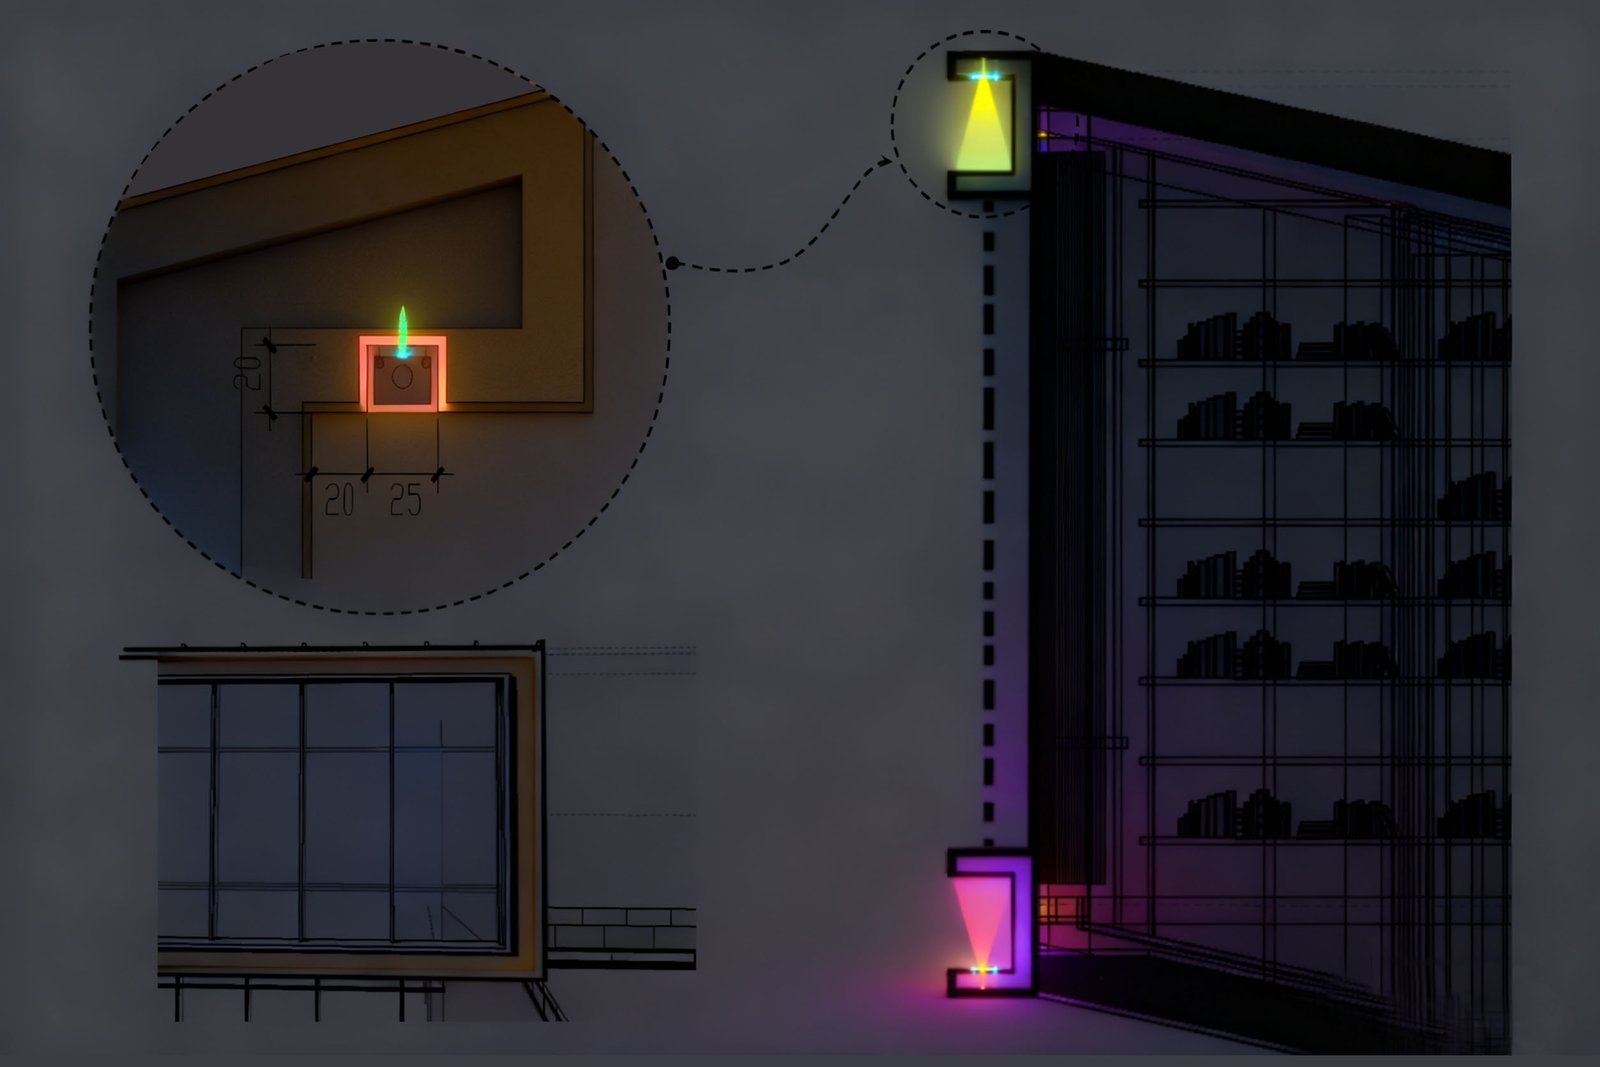
-
4. Precise Positioning and Grooving/Drilling
-
Mark the installation points accurately on the surface according to the layout plan, using a tape measure and chalk line.
-
For recessed installation, grooves must be cut precisely according to the fixture dimensions for a perfect fit. Use a level to ensure all marked points are aligned.
-
-
5. Safe and Standardized Wiring
-
Power Off Operation: Always turn off the main power before any electrical work. Safety first.
-
Separate High & Low Voltage Cables: Power cables (high voltage) and signal cables (low voltage) should be routed separately to avoid signal interference.
-
Waterproofing Connections: For outdoor installation, all wire connections must be placed in waterproof junction boxes and sealed with waterproof sealant to ensure the IP rating (typically IP67 is recommended) is not compromised.
-
-
6. Fixing the Fixtures and Concealment Techniques
-
Utilize Shielding Structures: This is key to achieving the “unseen fixture” effect. Install the lights under:
-
Eaves or Light Shields: Use protruding structures to block the downward line of sight.
-
Recesses Pre-made in the Ground or Steps: Allow light to wash the wall from below, perfectly hiding the fixture body.
-
Custom Aluminum Profiles: Profiles often come with built-in baffles (wings) that effectively block the view from side angles, a common method for installing linear wall wash lights.
-
-
Adjust the Projection Angle: When fixing the fixtures, make fine adjustments to their tilt angle to ensure light is projected fully and evenly onto the wall surface, avoiding the direct line of sight.
-
4. Power-On Testing and Long-Term Maintenance: The Pursuit of Perfection
Installation completion does not mean the end; fine-tuning can elevate the result to the next level.
-
7. Initial Power-On and Inspection
-
Turn on the power and observe if all fixtures are working normally.
-
Check if the light beams are continuous and even, without obvious dark areas or overexposed “hot spots.”
-
-
8. Fine-Tuning the Angles
-
Even with precise preliminary positioning, on-site fine-tuning is essential. Slightly adjust the fixtures while observing the changes in the wall light pattern until the smoothest, most even transition is achieved.
-
-
9. Long-Term Maintenance Points
-
Regular Cleaning: Especially for outdoor fixtures, dust and dirt on the lenses severely affect light output efficiency and effect. Wipe them regularly with a soft cloth.
-
Check Wiring and Seals: Periodically inspect the waterproof seals at connection points for aging and ensure the power supply is functioning properly to promptly eliminate potential safety hazards.
-
Conclusion
Achieving the “see the light but not the fixture” effect with wall wash lights is an art that combines optics, design, and precise installation techniques. It requires not only an aesthetic eye but also rigorous planning and meticulous execution. By following the steps outlined in this article—from understanding the principles and thorough preparation to precise installation and patient fine-tuning—you can fully master this technique. Let light become the protagonist of the architecture, while the fixtures themselves remain invisible, ultimately creating an stunning and极致 light and shadow space.